In today’s article, Electrolux India will give you a complete step-to-step guidance on how to clean your refrigerator the right way. Especially, you will also find the latest sharing from our experts on how Electrolux smart technologies and design can help you maintain hygiene more effectively. Good news is these tips are applicable for both 1 door and double door fridges door or any big-sized refrigerators. Plus, you will also find some extra after-cleaning tips such as how to turn on the fridge at the end of the post.
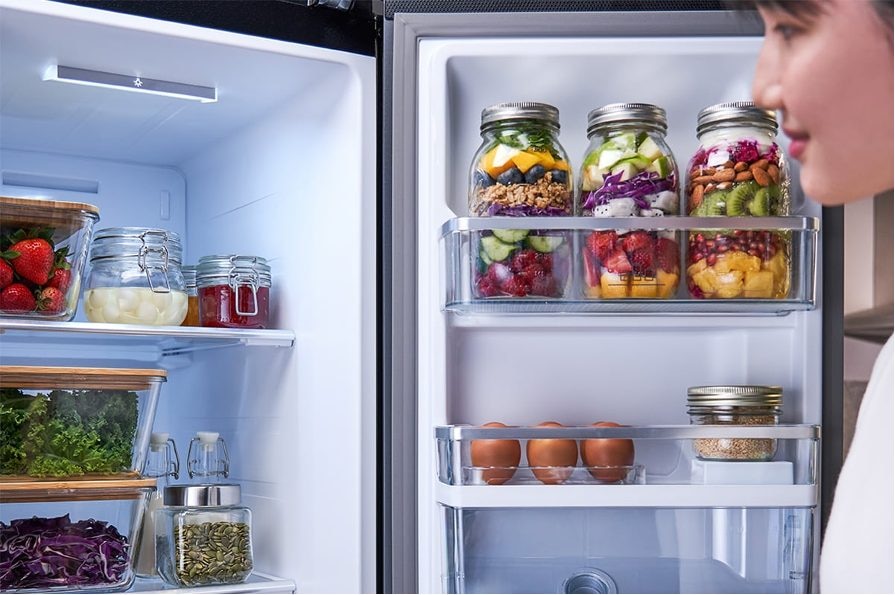
The satisfaction of a sparkling-clean fridge
What do you need to prepare before cleaning the refrigerator?
Before we roll up our sleeves for the deep cleaning job, let’s make sure to get the following things done first:
Schedule a proper timing for your fridge cleaning
Timing your refrigerator cleaning before the weekly or daily delivery of your grocery shopping will make your life easier. If yours is a fridge freezer, you would also want the freezer compartment as empty as possible when you start the clean-up.
Prepare surface area for temporary food storage
Since it’s obvious that we will need to completely empty the fridge before cleaning, preparing enough surface area for temporary food storage would be a good idea. You might want to empty your kitchen sink as well.
Gather items needed to clean your refrigerator
Here is the list of supplies you will need for your cleaning:
- Vinegar or baking soda
- Spray bottle – the container for our food-safe cleaner made from vinegar/baking soda and hot water
- Scrubby sponge or cloth
- A large microfiber towel to place at the bottom of your refrigerator to absorb the water drops if any
- The recycling bin – put it somewhere nearby as you might be tossing expired items.
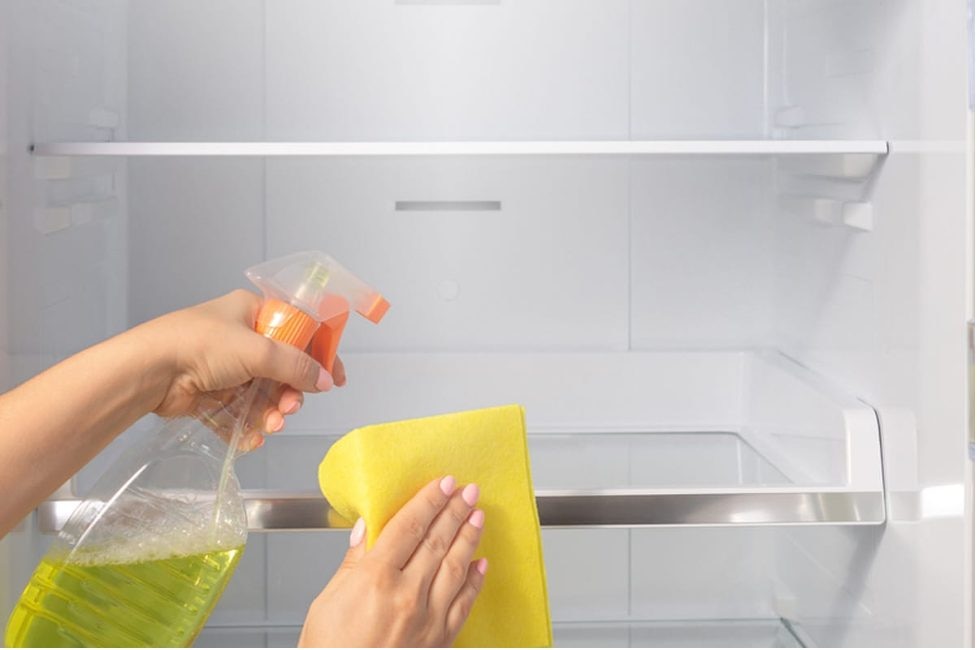
Spray bottle – the container for our cleaner
Turn off & empty your fridge
Now turn off your fridge and make sure to let the plastic shelves come to room temperature before you start removing them in the next steps. Trying to remove plastic shelves from your fridge when it’s still cold might cause unwanted cracks or other damages.
While you are transferring all the contents of your fridge onto the kitchen countertops or any surface area, remember to:
- Check for use-by dates and through away anything that’s already expired or spoiled.
- Clean the bottom of sticky jars or bottles
- Consider putting your perishables in a cooler, especially if you are planning for a really thorough clean.
Step-by-step on how to clean your fridge properly
Step 1: Remove & soak the shelves and drawers
Now that the fridge’s inside must have come to room temperature, take all the shelves and drawers out and soak them in the kitchen sink. If they won’t fit your sink, spray them with dish soap and hot water.
Leave them there while we are heading to work on the inside of the fridge.
Step 2: Soften the accumulated gunk from inside of the refrigerator
Spray all over the interior of your fridge with the DIY vinegar solution mentioned earlier. Concentrate on areas with gunk. The simple combination of vinegar and water works like magic at cleaning up not only sticky germs, but also smelly fridges as well.
Leave the fridge’s interior to soak while you get back to the disassembled shelves and drawers earlier.
Step 3: Wash the shelves and drawers
The gunk on the shelves and drawers should be loosen by now. It’s time to wipe and clean them in dish soap water. Let them dry while you return to wash the inside of your fridge.
Step 4: Clean the inside of your refrigerator
First, give the fridge walls an initial scrub to wipe out any gunk. Then, clean the fridge’s interior surfaces thoroughly with a soft, damp microfiber cloth. Make sure to have it rinsed and squeezed out regularly.
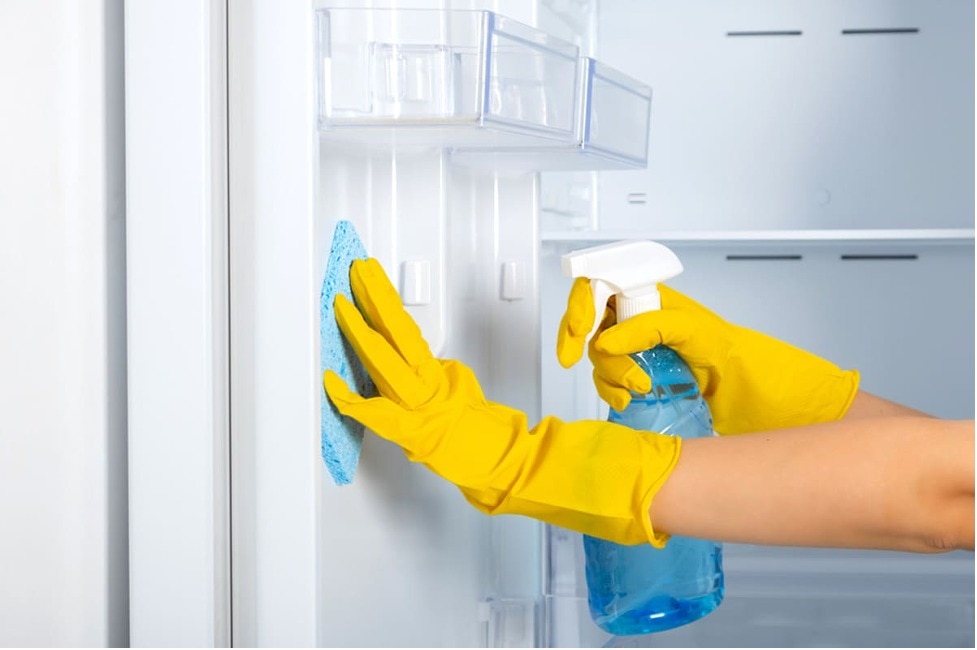
Clean the fridge’s interior surfaces thoroughly with a damp microfiber cloth
Step 5: Dry and reassemble all washed parts
When all the parts which are disassembled in the initial steps are dry completely, you can start having them reassembled.
Step 6: Clean jars and bottles before putting them back
It’d be pointless if we put sticky jam jars and crusty bottles back into a thoroughly cleaned fridge.
If you have already cleaned the bottom of those containers at the very first steps while clearing out your fridge, that’s pretty much all the main work.
However, sometimes gunk has accumulated around the edges of the cap or the seal, so you might want to take the lid off and wash it in the sink before putting them all back to the fridge.
Step 7: Wash the outside of your fridge, too
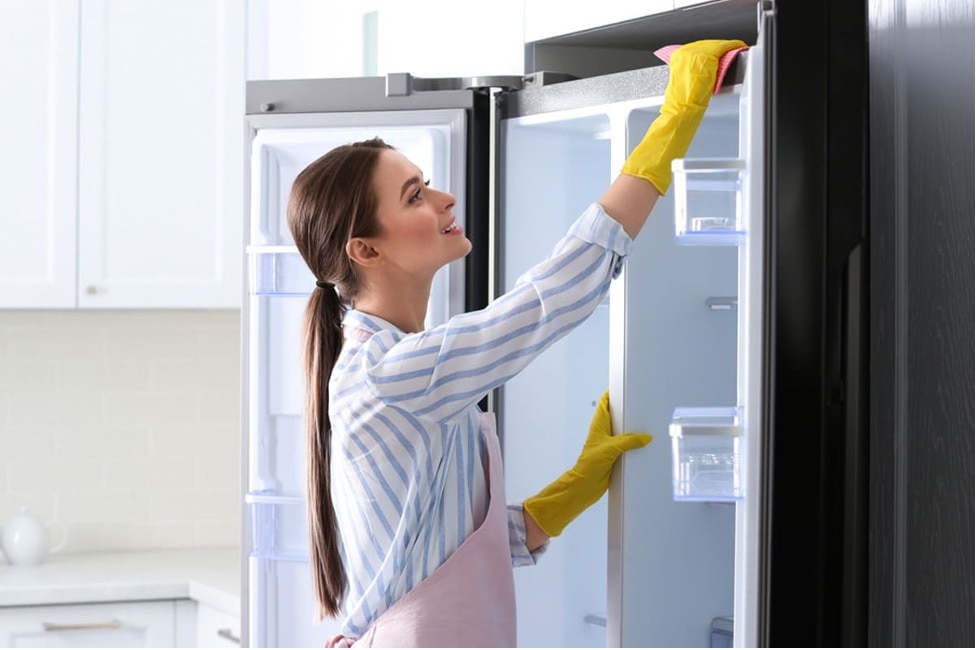
Don’t forget to clean the outside of your fridge, too!
Once everything is in place in your sparkling clean refrigerator, spray the vinegar solution all over the outside of the fridge. Then use a soft and clean microfiber cloth to wash it off. Don’t forget to give a good cleaning to the refrigerator rubber door, edges, and seals.
If your model has an air filter or deodorizer module, Electrolux experts recommend checking the filter indicator and replacing the filter about every six months (sooner if you store many strong‑smelling or highly perishable items). Regular replacement keeps built‑in deodorizing systems working effectively.
After cleaning the refrigerator
How to turn on your refrigerator after cleaning?
Good news – once your refrigerator is clean and dry, it's ready to go. You can turn on your refrigerator right after the cleaning without having to wait anytime at all.
Clean kitchen counters or surface areas that held food, drinks, refrigerator parts
Don’t forget to wash your kitchen countertops or any surfaces that hold your food and refrigerator parts. Give the floor a quick clean-up is also a good idea as the whole cleaning process might leave your floor dirty.
How often should you clean your refrigerator?
It’s advised that you should give your refrigerator a deep clean every 3 or 4 months. According to the Academy of Nutrition and Dietetics though, a light clean-up for your refrigerator should be done once every week.
Keeping your fridge sanitized is important - not just for appearance but for health. Electrolux experts note that regular cleaning combined with built‑in hygiene features makes the biggest difference: antibacterial technologies (air purification, antimicrobial coatings and sealed compartments) help limit harmful bacterial growth. Features such as Electrolux’s FresherAir Ioniser release negative ions that break down proteins on bacteria surfaces, greatly reducing common bacteria and supporting safer food storage. By keeping the interior cleaner and more stable, these systems complement routine cleaning and help maintain food freshness for longer.
Furthermore, regular cleaning will make sure your fridge works properly and thus, last longer.
Extra tips on how to clean a side-by-side or double door refrigerator
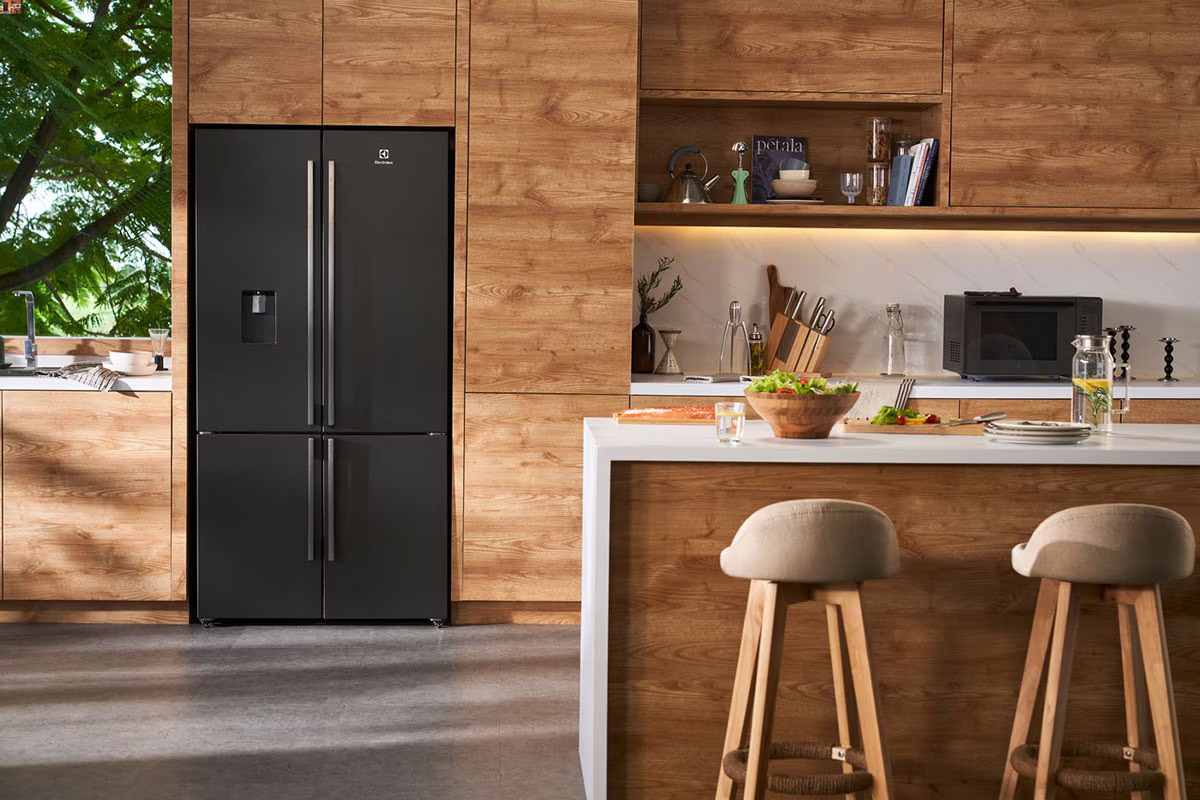
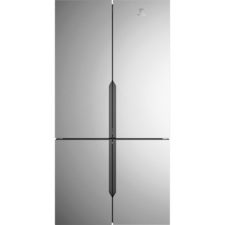
Owners of Electrolux Multidoor refrigerators might need more space for temporary food storage
As large refrigerators obviously contain a lot more stuff than 1-door counterparts, here are two extra tips for owners of side-by-side, Multidoor, or any sorts of large refrigerators:
- Use folding table or a few chairs to get more space for temporary food storage. Whatever you might use, make sure you prepare at least enough space to hold a shelf’s worth of stuff.
- Clean shelf by shelf: Not everyone has enough space on kitchen countertops to hold all the stuff taken from the fridge before cleaning. So, working shelf by shelf is the go-to cleaning method for owners of side-by-side, 4-door, 2-door, or any big refrigerators. By doing so, your perishables won’t be left out for too long.
>>> Read more: Frequently asked questions about refrigerators
Electrolux refrigerators can stay clean and fresh for longer
Let’s enjoy the satisfaction of a sparkling-clean fridge, for a while. If you want to keep it smelling fresh for longer, try using some refrigerator fresheners.
To free you from frequent fridge maintenance process, Electrolux UltimateTaste refrigerators come equipped with the latest technologies to keep your fridge not only clean but also last for longer. Keeping your food fresh longer also means maintaining your fridge clean for longer.
Your fruit and vegetables are kept in prime condition within the GreenZone crisper, a specialised compartment proven to retain up to 90% of their vitamin C and natural flavour after seven days*. At the same time, the rest of your groceries are protected by DynamicAir technology, which creates a continuous airflow to ensure a stable temperature in every corner and prevent your food from losing its shape or drying out.
Choose yourself a quality-proven product from the following Electrolux refrigerators:
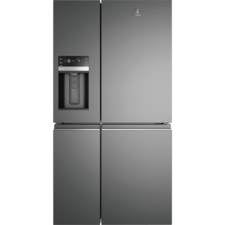
- TasteSealFlex ideal storage with 5 temperatures.
- TasteLockAuto keeps vegetables fresh for 7 days*.
- TwinTech cooling help preserves taste and texture.
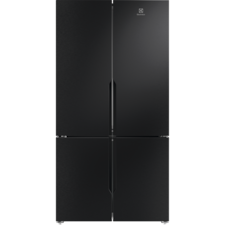
- AICoolAssist helps save up to 10% energy*.
- GreenZone helps fruits and vegetables stay fresh.
- Cooling 360° circulates cold air to every corner.
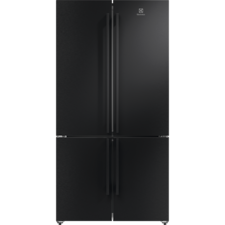
- MultiChill custom storage at -2°C, 0°C, and 3°C.
- AICoolAssist helps save up to 10% energy*.
- GreenZone retains Vitamin C in blueberries for up to 7 days.*
* Tests performed by SGS Thailand Laboratory on vitamin C retention in blueberries after 7 days storage in GreenZone compartment. Tested model EQE5657BA.
** Test performed on the EQE5757BB comparing the 24 hour consumption when the CoolAssist function is activated with the default factory mode. Actual energy saving may vary, depending on environmental temperatures. An increase in temperature may affect the preservation of food.
Frequently asked questions about fridge cleaning
1. How long should I leave the fridge open after cleaning?
To clean the interior of your refrigerator and freezer, including the doors and gaskets, use hot water and baking soda. Rinse with a sanitising solution and then leave the door open for about 15 minutes to allow for free air circulation.
2. Does vinegar smell go away after cleaning?
Yes, the smell of vinegar will eventually dissipate after cleaning. However, if you want to speed up the process, you can add a few drops of essential oils, such as lavender or lemon, to your vinegar cleaning solution to give it a more pleasant scent.
3. How to clean a refrigerator with vinegar and baking soda?
Create a solution of equal parts warm water and white vinegar, spray this solution to the inside of the refrigerator and wipe all surfaces with a microfiber cloth or sponge.
4. Why are Electrolux refrigerator easier to clean?
Electrolux refrigerators use intuitive layouts, flexible compartments and smart storage zones to make food organisation simple and accessible. That helps speed up cleaning and prevent spills from spreading so routine maintenance is quicker and less disruptive.